File Upload
File Upload in eCommerce allows customers to upload their files when selecting products for purchase in eCommerce.
This article contains the following topics:
Enabling File Upload
File Upload must be enabled on the Storefront level and the Product level from the admin panel in eCommerce.
- Navigate to Admin Panel > StoreFronts.
- Select a Storefront.
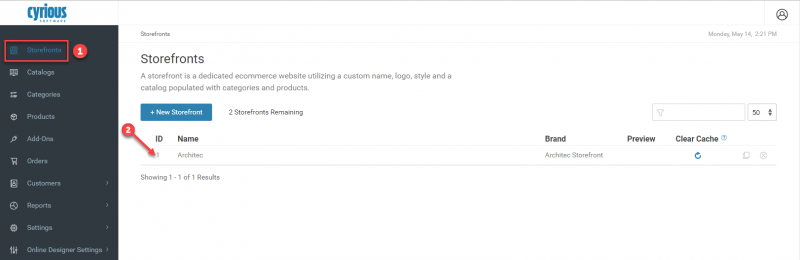
- Navigate to the General tab.
- Check the Enable File Uploads box.
- Click Save Changes.
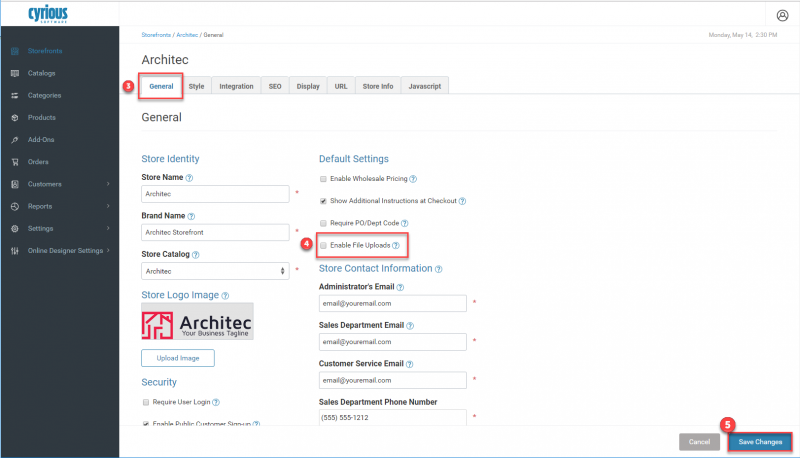
- Navigate to Admin Panel > Products.
- Select a Product.
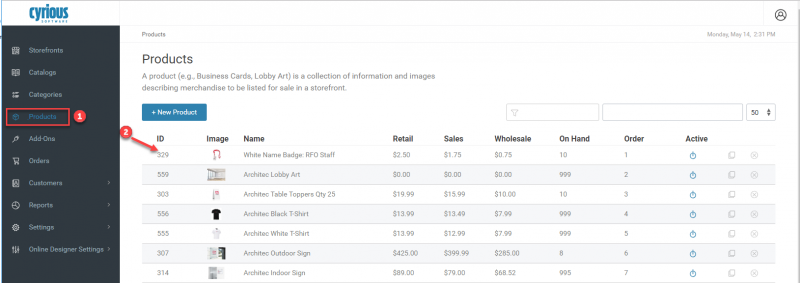
- Navigate to the General tab.
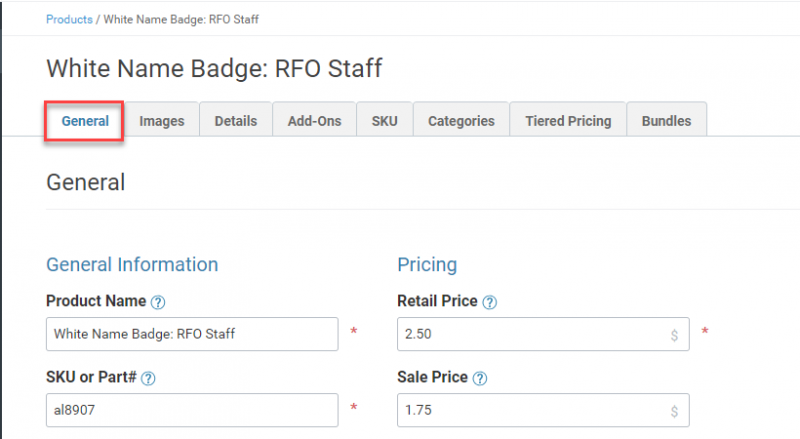
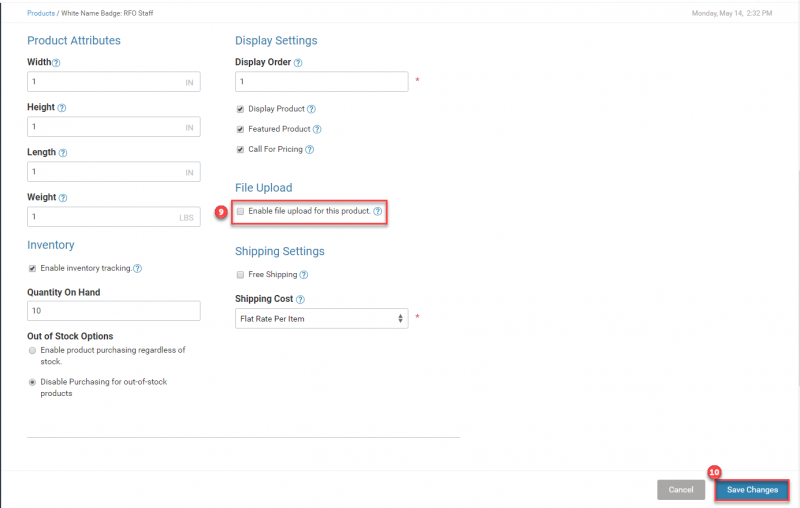
- Scroll down and check the Enable file upload for this product box.
- Click Save Changes.
NOTE: File Upload must be enabled on BOTH the Storefront and Product level. Using File Upload
Once enabled, customers will be able to upload files for products on the Storefront.
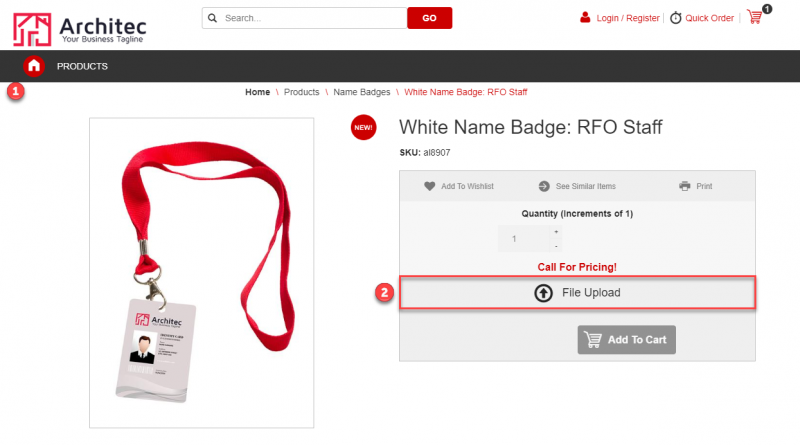
- Navigate to a Product's page on the Storefront.
- Products with file upload enabled will display the File Upload button. Customers have two options to select files.
- Drag and drop.
- Click on the file upload button and grab files.
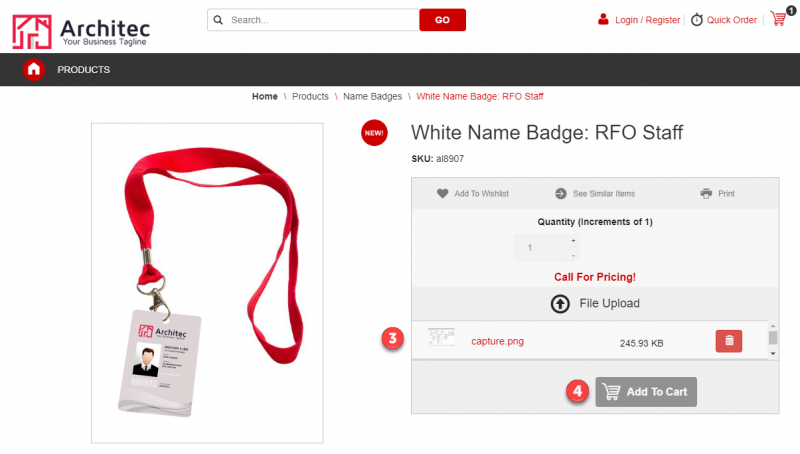
- Successfully added products will display on the product view page.
- Click Add to Cart.
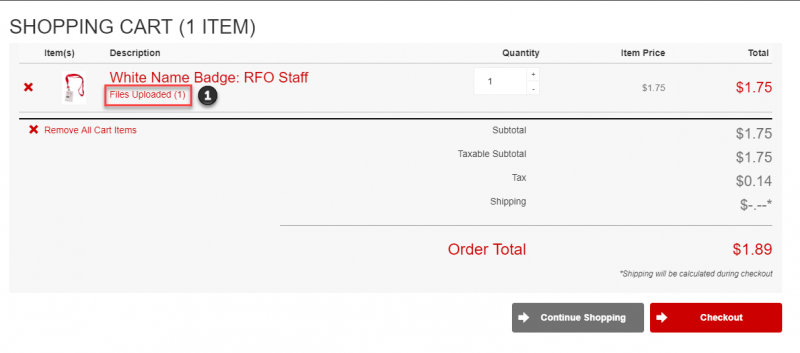
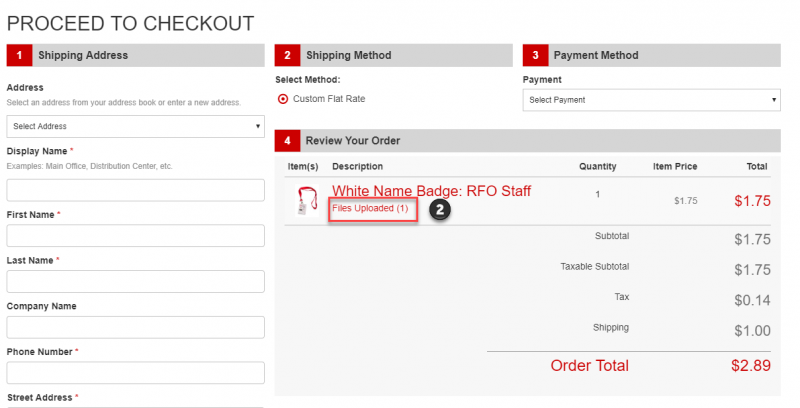
- Review and manage files before completing the purchase. Uploaded files can be removed, uploaded, or deleted from the following screens.
(1) Shopping Cart
(2) Checkout
- Files uploaded by the customer will be located in the Document Management folder on the Order when the order syncs over to Control.
NOTE: The file upload functionality requires having Document Management enabled inside of Control. For more information, please refer to the Document Management article.
See Also
- Backlinks include_pagepage_componentbacklinks
You could leave a comment if you were logged in.